1st Spectre Game
So the day of the first game had arrived and later I would wish I'd taken more photos, but we were learning.
A quick recap. A week ago my friend Lee and me decided to try
Spectre miniatures rules for the first time. After frantic building and painting we were here, as close to ready as we were gonna be, but a lot closer than when I managed to persuade Lee to buy them at Salute 2019.
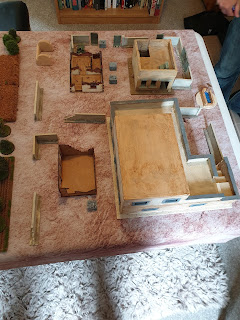
Terrain:
The night before I set the dining room up, with permission of course! All of the terrain is getting its first use except the corn fields which are a staple of our 15mm games. The mat is from
Deepcut Studios, wastelands I seem to remember, the rest recently built and painted and explained in the Terrain post. I removed the barbed wire before we started to allow more freedom of movement, it was our first game.
Scenario: Seize Vital Assets
We decided for our first game to follow the rules advice and use the basics and the starting scenario on p116.
The objective is for the attacker to have at least two models in contact with the Asset for 1 turn without being targeted, in 5 turns.
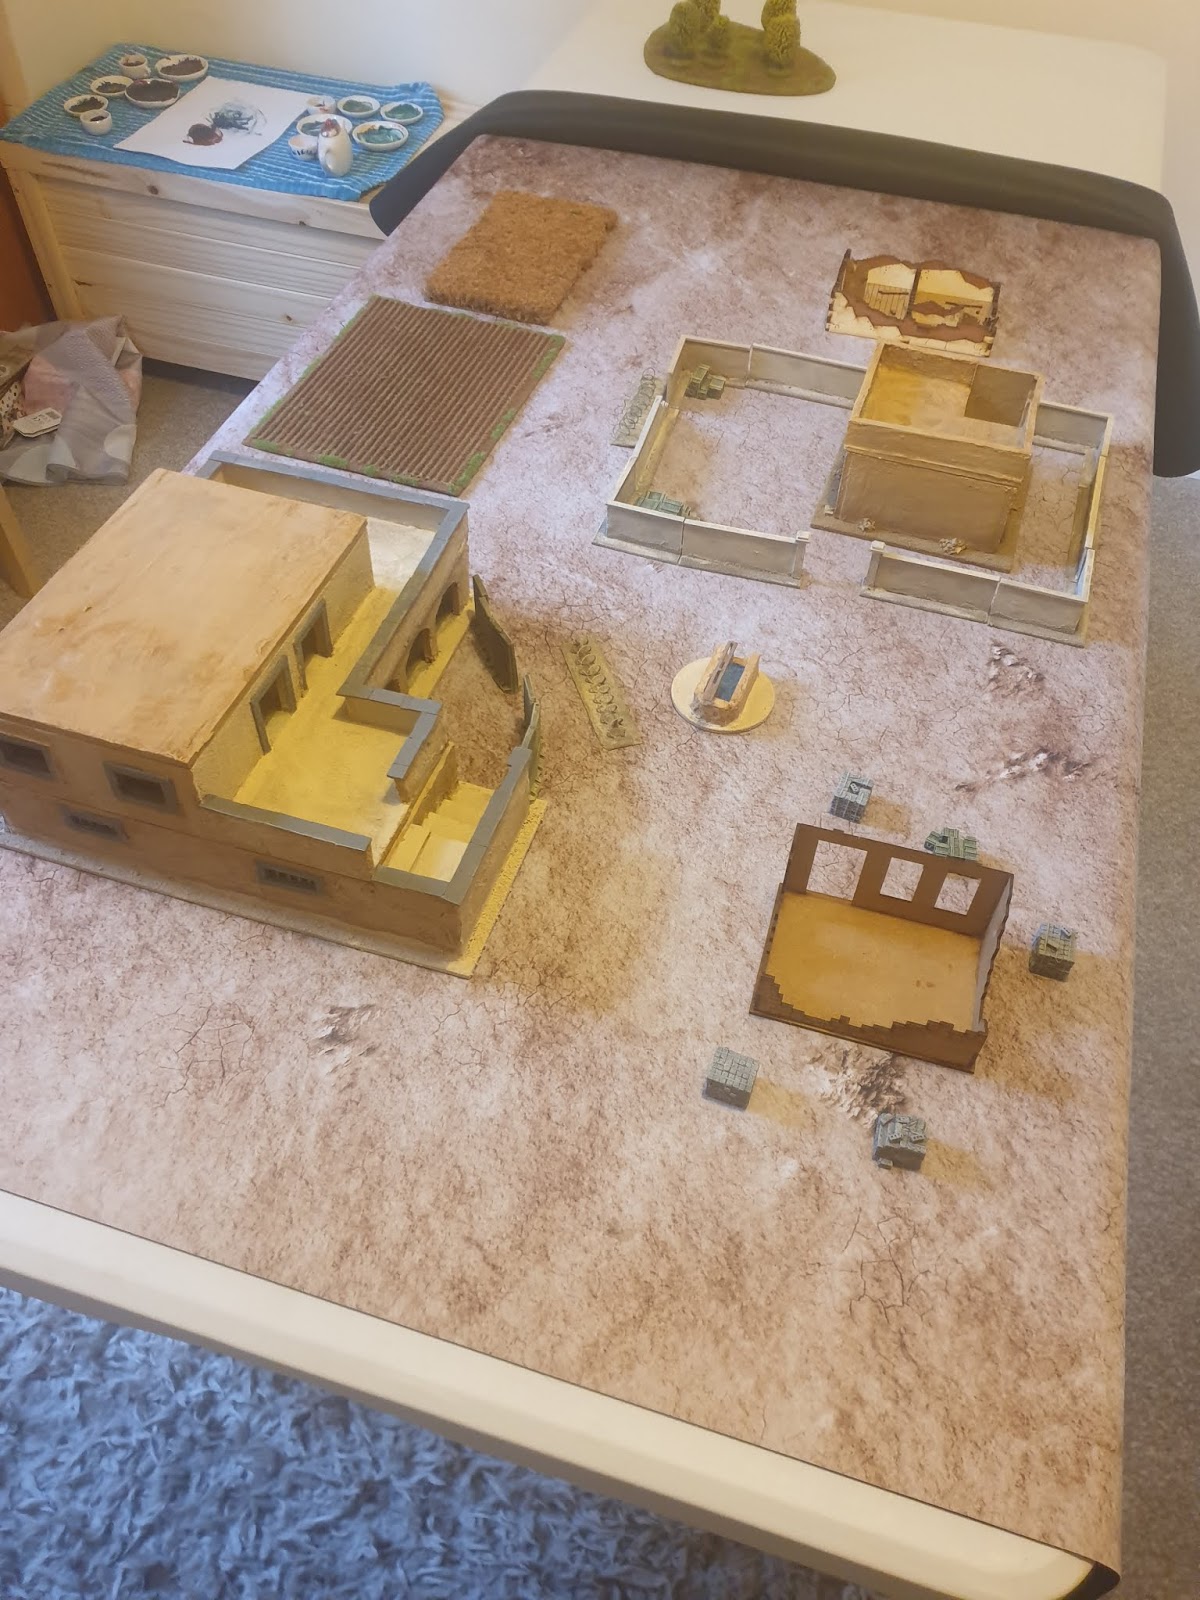
Battle area, 2x2 table, well mine was already setup, 4x2 it'll be alright. 50% scatter terrain to break line of sight and to provide cover, not quite 50%. Now we had heard cover was important, we also know cover is important, but it's a only a game with dice right?
Next it recommends 6 Elite against either 8 Professional tier or 12 Militia, well we wanna use our models so we will mix it up.
The forces:
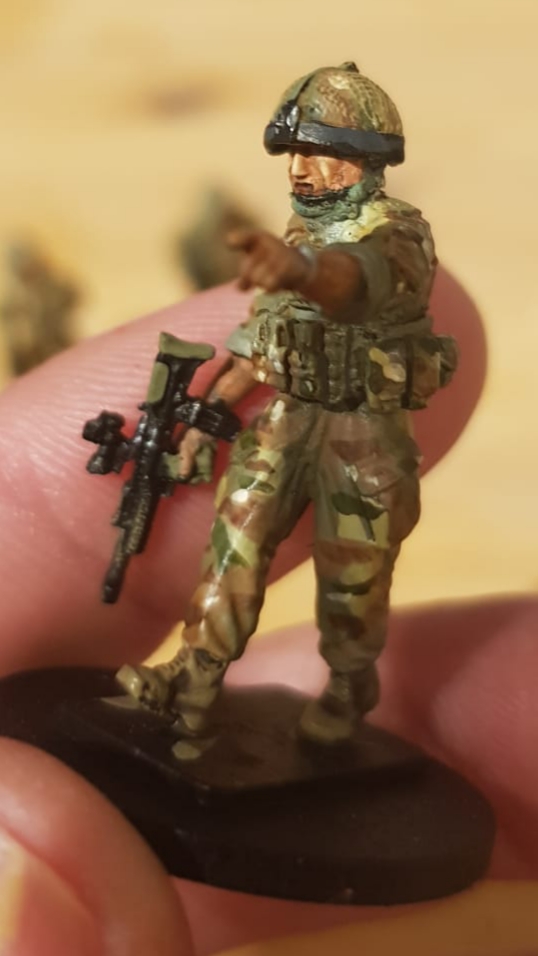
The British,
- Corporal, Assault rifle with scope, pistol, frag, smoke.
- Sharpshooter, DMR with scope, pistol, frag, smoke.
- Rifleman 1, Assault rifle with scope, UGL, frag, smoke.
- Rifleman 2, Assault rifle with scope, frag, smoke.
- Rifleman 3, Assault rifle with scope, frag, smoke.
- Rifleman 4, Assault rifle with scope, frag, smoke.
- Rifleman 5, Assault rifle with scope, frag, smoke.
- Rifleman 6, Assault rifle with scope, frag, smoke.
All are equipped with Comms, Body armour and Battlefield trauma kits.
All are professional tier and the Corporal used the Sergeant stats.
Some may have noticed a lack of Minimi/saw, this is due to Lee not having bought the figure yet.
The Insurgents,
- "Abdul" the boss, Carbine with scope, frag and smoke.
- Bodyguard 1, Assault Rifle with scope, frag and smoke.
- Bodyguard 2, Assault Rifle with scope, frag and smoke.
- Bodyguard 3, Assault Rifle with scope, frag and smoke.
- Bodyguard 4, Assault Rifle with scope, frag and smoke.
- Bodyguard 5, Assault Rifle with scope, frag and smoke.
All are equipped with Comms, and one man has a Battlefield trauma kit. NO body armour.
These guys are trained tier with Abdul having the sergeant stats.
Insurgents support Local Militia,
- Militia leader, Assault Rifle and frag.
- Militia man, Lmg and frag.
- Militia man, Assault Rifle and frag.
- Militia man, Assault Rifle and frag.
- Militia man, Assault Rifle and frag.
- Militia man, Assault Rifle and frag.
These are just locals who have been given rifles and some grenades to act as cannon fodder.
These are militia tier, with the leader again having the sergeant stats.
Whilst it was tempting to use even more militia as I had 22 altogether, we decided that we would bring them on if the Insurgents were getting smashed.
Deployment and Objective:
I gave Lee the choice of attacking or defending, he chose attacking!
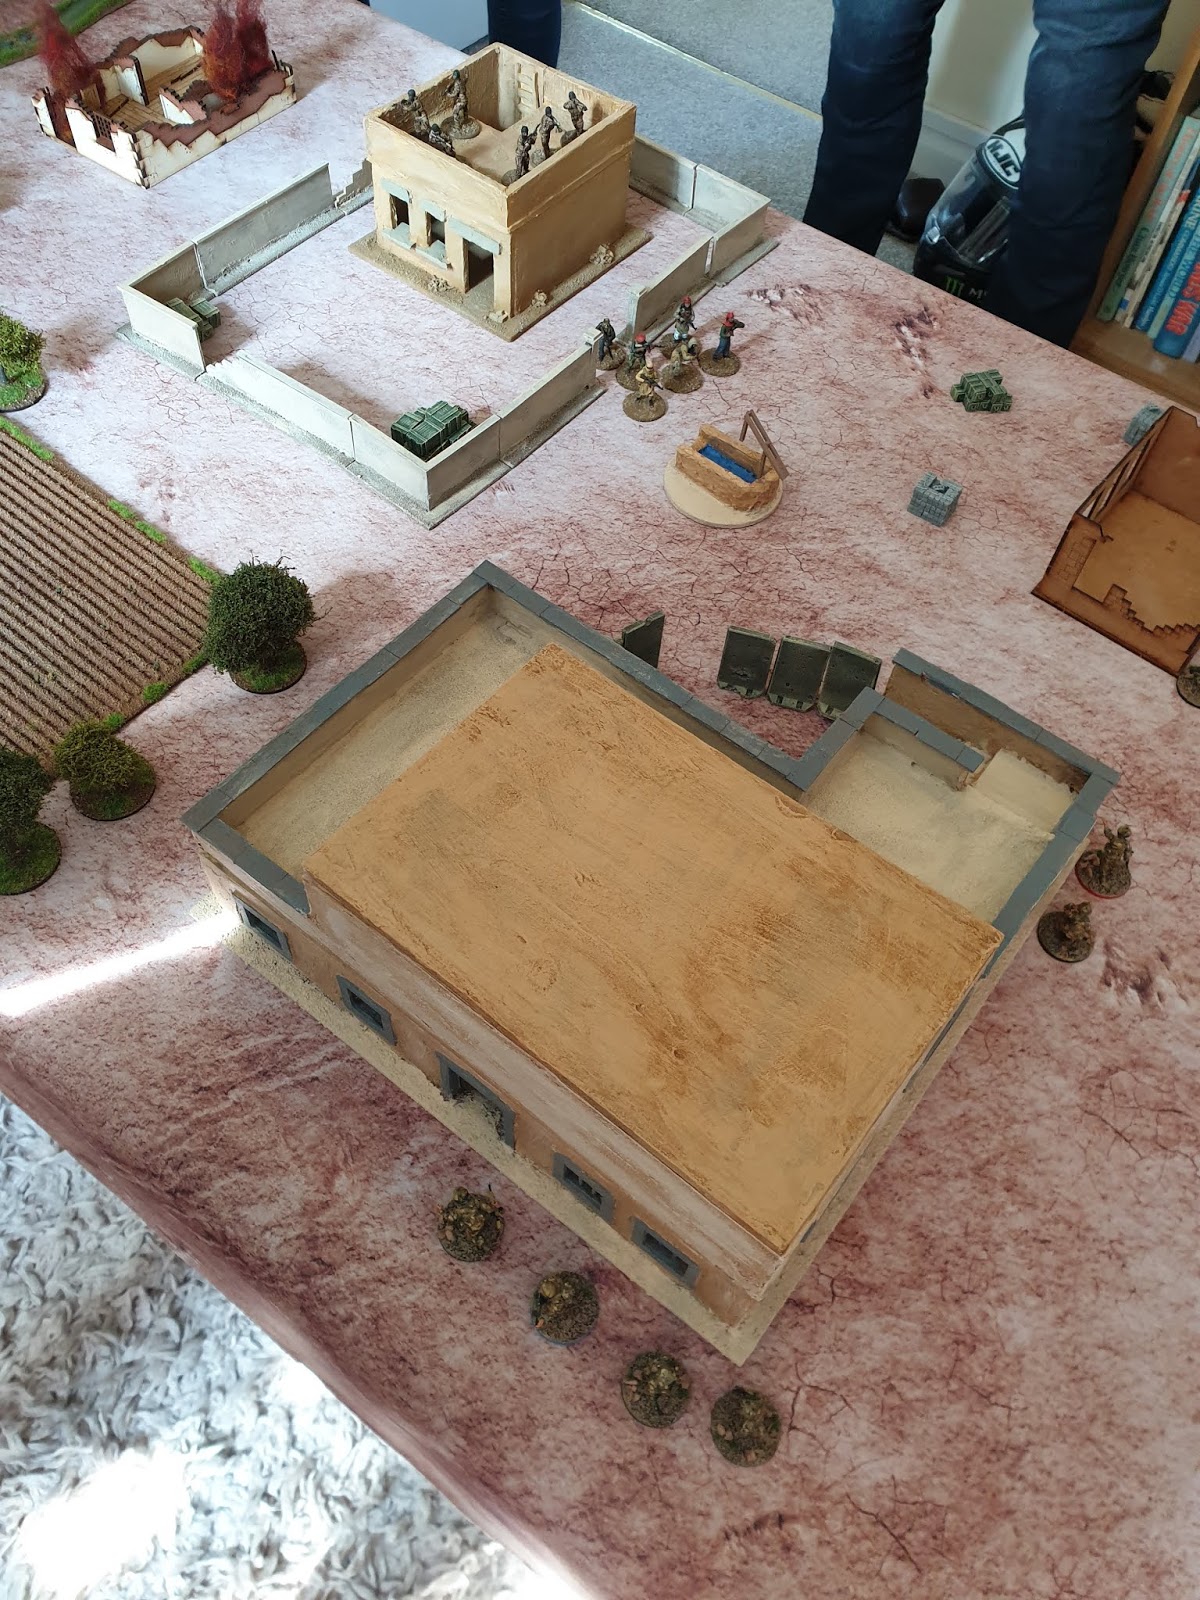
I deployed Abdul and friends inside the small building in the top right compound, this was the location of the Vital Asset (a box). The local Militia squad deployed in the compound as well.
The British came on behind the large villa type building.
The Game:
I will try to give you a narrative with a few game terms, but we were learning, and in my head the turns blurred into one action as it should. Next time more pics and notes.
Lee has the initiative automatically so splits his squad. Charlie fire team with the corporal perform a combat sprint going left around the villa. Delta fire team do the same going for a small ruin opposite the villa on the right. They know the location of the Asset and the local fighters.
 |
| Brits try to flank with Charlie fire team. |
 |
| Delta move, we had forgot about the coherency at this point, and Lee said he would correct it in the next turn! |
My move. The militia had been warned of the British intrusion and rushed to get out of the compound, not quite reaching the open gate. Abdul and his boys moved up onto the roof.
No shooting so far and I now had the initiative. This surprised us, whilst no one was suppressed, I had expected the Brits to be on top. Lee had in fact rolled low when he needed high, this would not be the only time!
Somehow I had missed an opportunity to shoot at Lee whilst two of Delta fire team had moved in behind the ruin. As the Miltia ran out the compound entrance, Adbul and gang fired over the top from height towards the ruins, gaining modifiers for the height which were nullified by the great cover (one was out of sight). Even with the great cover, one of Abduls men scored a hit and a Brit disappeared from view. Lee's dice didn't do as he asked and the guy was seriously wounded and bleeding out.
The Miltia and Delta fire team traded fire inflicting suppression and causing a command test which the Militia passed. Charlie had begun to move through the back of the villa with hope of climbing the stairs at the front to reach the roof.
Initiative once again in my hands, Adbul stayed put whilst the Militia moved passed the Well not sure whether to head for the roof of the villa or Delta team. One of Delta moved to provide first aid on his fallen oppo. Charlie moved out the front of the villa using the barriers as cover. Abdul's gang opened up on the Delta team guy giving first aid. Three lots of shooting and he was no more.
The militia threw a grenade towards Charlie, missing, its drift caused a serious wound on the UGL man who was out of LOS. Charlie exacted revenge with a grenade towards the Well, automatically killing one and stunning the RPK gunner.
The little court yard in front of the villa was not the place to be, the Brits had the iniative and the Corporal rushed across to the wounded UGL guy whilst the Sharpshooter covered the door with overwatch just in case. Another rifleman by barrier stood ready for the approaching militia until a shot from the Sharpshooter whistled pass missing the insurgent who'd charged through the gap killing him in close combat. Another Militia member came through the gap seriously wounding the Corporal giving first Aid.
Elsewhere the remainder of Delta started to move to support what was left of Charlie having nearly reached the back door. Abdul and boys with nothing to shoot at decided to leave the compound and were almost out the gate with the fifth and final turn about to start.
Again the Insurgents had the initiative, the end was near and the Brits were down to 3 active men. The Sharpshooter soon became entangled with some Militia, and the rest of Delta pushed pass the back door poking their heads round the corner of the villa. Combat resumed and Charlie fire team ceased to exist, but in all the haste to cross the open ground Abdul's boys were facing the wrong way. They didn't see Delta and Abdul hiding at the back dropped down dead. The British withdrew.
What a game, safe to say the British lost, even though the last shot killed the head bad guy, he wasn't the mission.
My thoughts:
Really enjoyed it, as we learnt the rules the game started to unfold a lot like a movie. We messed up some rules, the grenades have a range interval and a modifier that we missed, can't remember every roll so no idea if it mattered. Although Lee had some very bad rolls which did help.
When I charged the Militia across the table I didn't expect them to make it. However the covering fire from Abdul's men made it happen along with Lee's dice.
The importance of cover was proven, along with bringing concentrated fire. We didn't use the Fire control order but with proper fire and manoeuvre it would be ideal. Lee needed access to the roof, he didn't know there were no stairs inside. Distance would help, all firing took place within the 1st range interval, so pretty deadly.
Great game and really impressed with the rules, so many ideas, scenarios and possibilities.